Pregnant Skeleton Costume
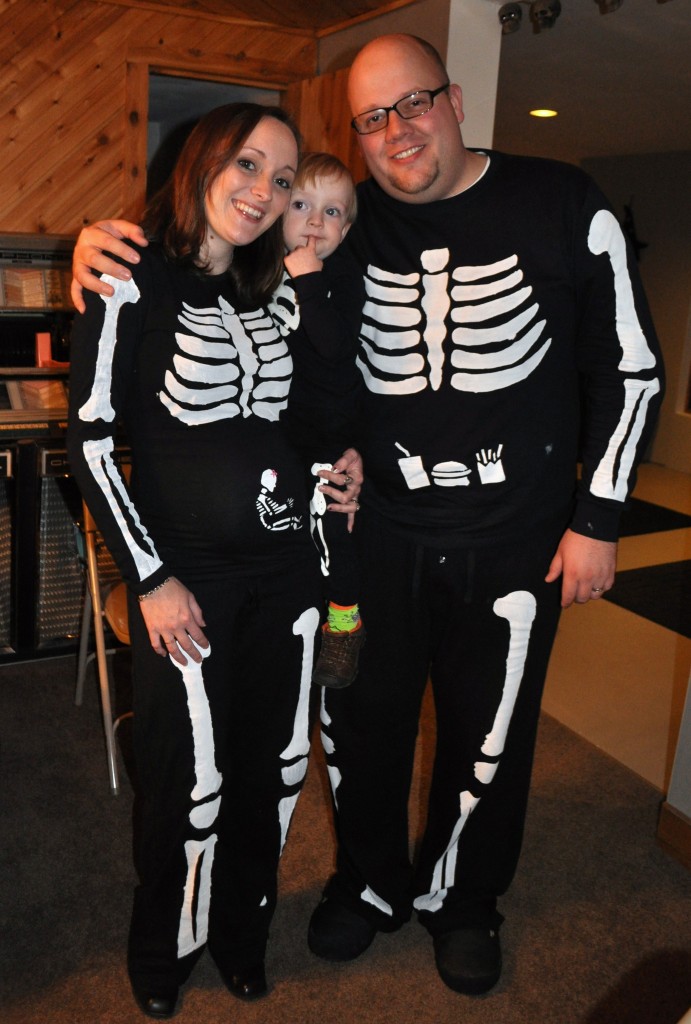
A long time ago my friend Kristin emailed me a Halloween costume idea and I fell in love. It was a homemade pregnant skeleton costume–complete with a skeleton baby–and a matching set for the dad with whatever he loves in his belly! I was dead set on making these for us and with Halloween still months away, I thought I had PLENTY of time even though we were closing on a new house on Halloween.
I was wrong. I procrastinated. And then procrastinated some more. I ended up finishing them the Saturday before Halloween, just in time for a costume party that night. I thought about just ordering something from Halloween Express (they have skeletons), but decided I CAN DO THIS! Thus, my super-duper late tutorial post. You can make it next year?!?!
How to make it:
I went to Target and bought plain black yoga/pajama style pants and long-sleeved shirts for me and Steve… I can’t remember the prices, but we’ll say I spent about $35.
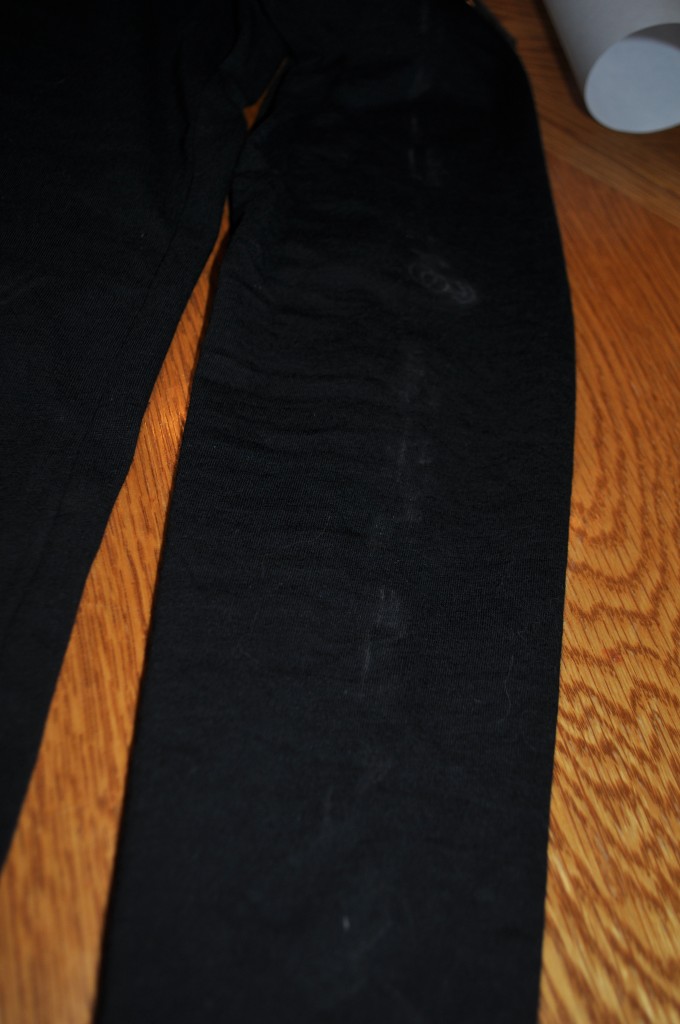
To start, I actually put on the clothes and used white chalk (from Ryan’s art easel!) to mark my limbs. I wanted to make sure I had the elbows and knees in generally the right area so it didn’t look weird! You can (kind of) see the chalk marks below:
Then I drew my skeleton on pieces of freezer paper. WHAT’S THAT?! Yea, I had no idea either, but now I think it’s the best invention EVER. They sell it at the grocery store right next to the aluminum foil and wax paper. FYI–my Target did NOT have any.
Google some images of skeletons and use those to help out… I drew mine free-hand, but I suppose you could find templates to print and trace? They don’t have to be perfect anyway, just about the right size…. I used this Skeleton and this Skeleton for the adult and this Baby Skeleton… kind of.
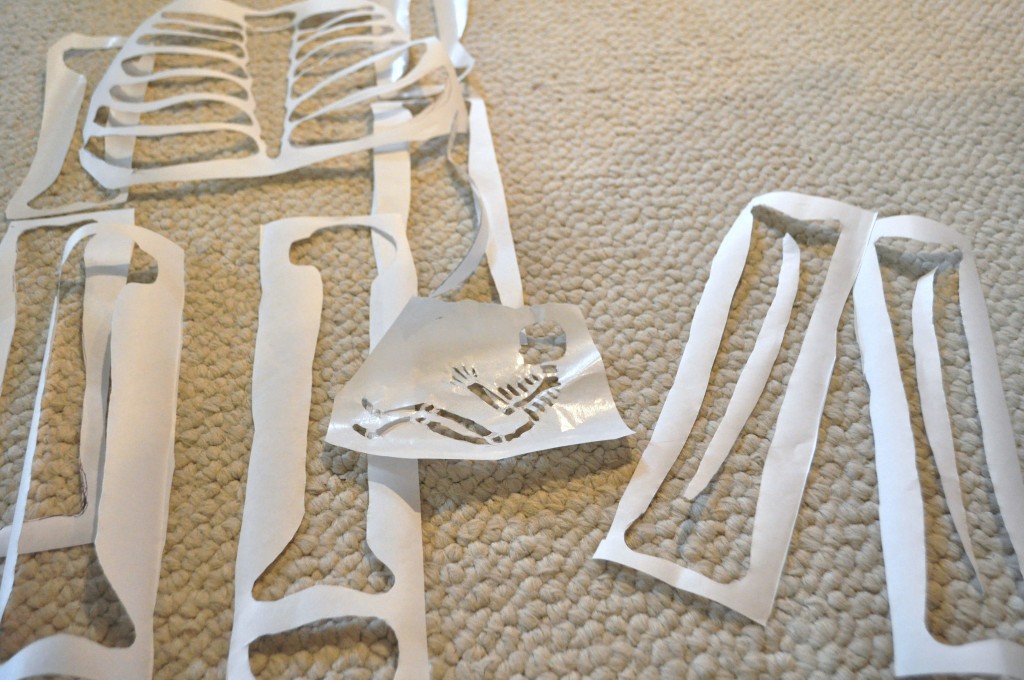
There’s all the pieces for my costume–you will need to draw a new set for your husband/partner.
TIP: the shiny smooth side of the freezer paper is the side that faces down when you iron them onto your clothes… so draw accordingly! I wasn’t thinking about that and drew some things backwards/on the wrong side. No one else would ever notice, but the science nerd in me was like OMG THAT BONE IS ARCHING THE WRONG WAY!!!!!!!!!
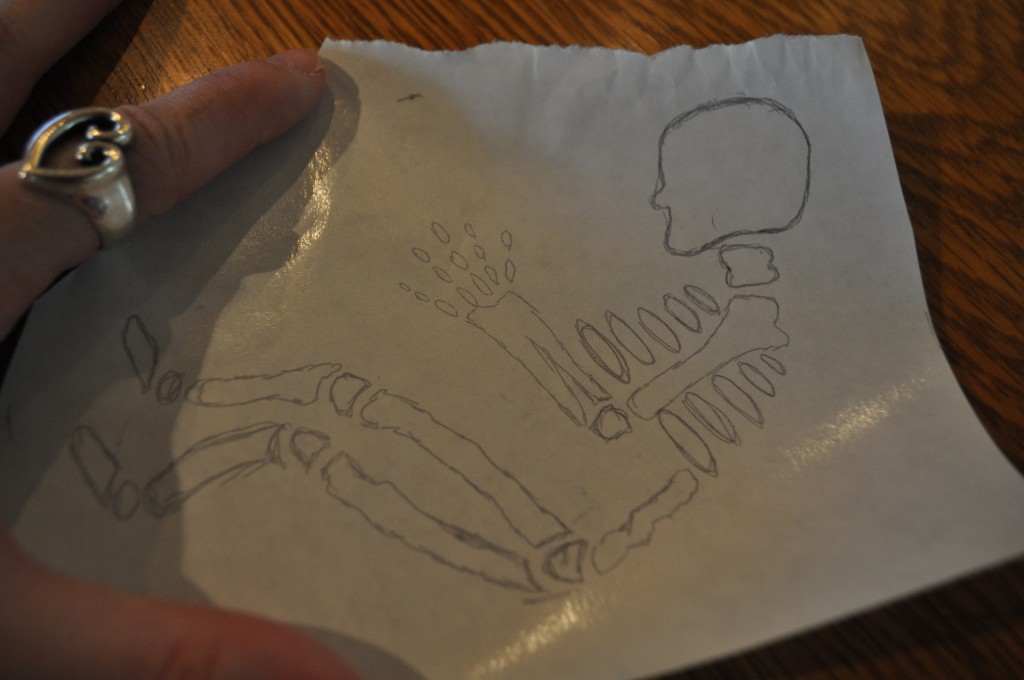
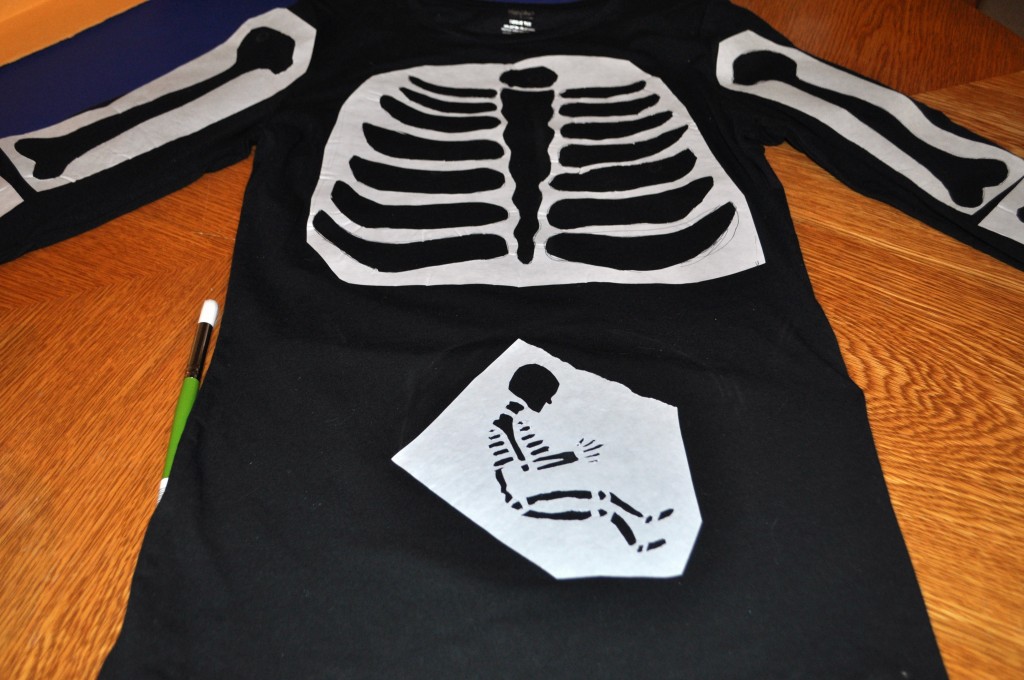
Close up of the baby skeleton. In my opinion, I made this too small for being ~24 weeks along lol, but it still looked good on the shirt. Also, you can see I actually drew separate finger bones, but when I went to cut, that was too hard (=too annoying) and I just cut out long fingers.
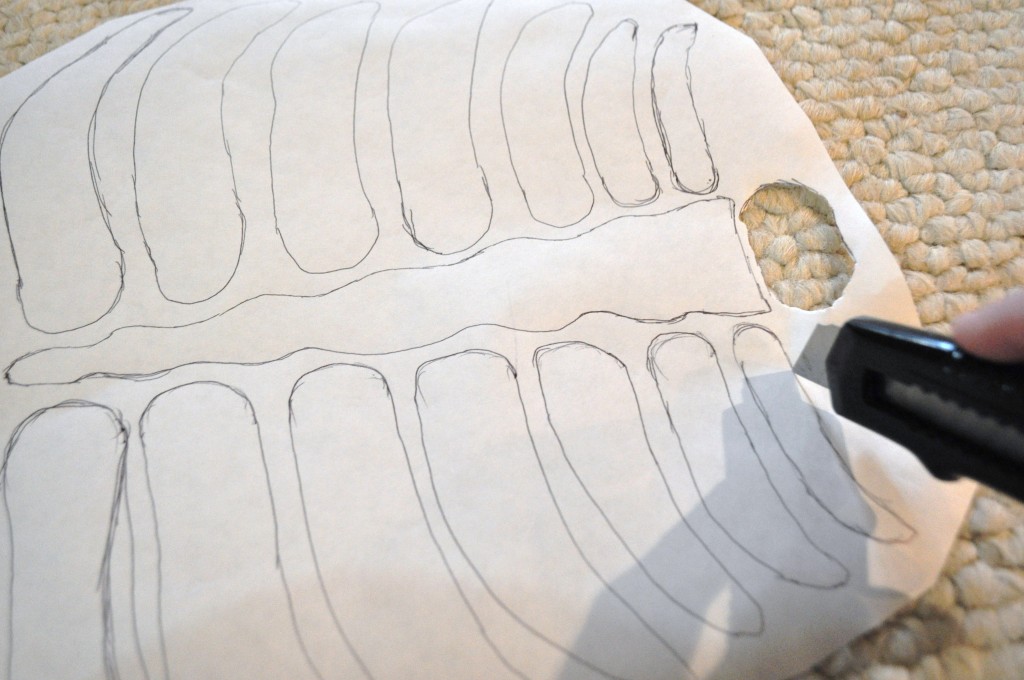
Time to cut! I used an x-acto knife and the picture above doesn’t show it, but put a piece of cardboard or something underneath so it’s easier (and safer) to cut. My knife was probably a little dull and some areas were hard to cut so I started off with the knife and then finished with scissors. Cutting in a hurry, I also ended up with some jagged edges… if you’re a perfectionist, it will bug you… but it really doesn’t matter.
TIP: make sure you keep all inside pieces–like in the lower arm and leg bones. You have two bones so there will be a piece you cut out that needs to be saved and ironed on as well (see what I mean in the image below on the right).
All cut out! Trim off the freezer paper so you have nicely sized pieces to easily iron on your clothes. Time to iron! I just went to the ironing board, laid out my shirt (or pants), placed the pieces on and ironed them in place one at a time. Remember the shiny smooth side goes down, against your clothes!
The iron works like magic. The paper is pretty instantly stuck to the clothes, but make sure all edges are really on there because when they start to get loose, your paint can creep under and you won’t have pretty, even lines. (Yea, I say that to you, but mine totally started coming up in places and my paint absolutely seeped under…. no biggie!)
Time to paint! Make sure you put cardboard or something between the layers of your clothes so the paint doesn’t seep through to the other side. I used whatever I could find–poster board, magazines…
Sometimes it felt like the fabric was pulling and moving as I painted so I blotted the paint on instead–especially on the edges where the freezer paper was starting to come up (like you can see on the picture below). Once that paint dried, the fabric was stiffer and it was WAY easier to paint over it in nice smooth strokes.
I probably did 3-4 layers–to get the best coat, wait till each layer is dry before adding another. I’d paint a layer on the shirt, go do laundry or play with Ryan, then come back and do another layer.
You can peel off the freezer paper once you’re done with the coats, the paint doesn’t have to be dry first. And it peels right off, so easy!
For the baby skeleton, since we’re having a girl, I added a little ribbon with 3-D pink paint once the white paint was dry. You could sew on a little pink ribbon or, if it’s a boy, you could put on a tie or sunglasses would be cute, too!
I asked Steve what he wanted in his belly…. he suggested: a cat. a mouse. popcorn and spiders. WHAT?! He’s a weirdo. So I did what was easy–a burger, pop and fries. Then he was really disappointed that he didn’t have a baby in his belly too. I told him that when he grows a human being, he can have a baby on his shirt too 😉
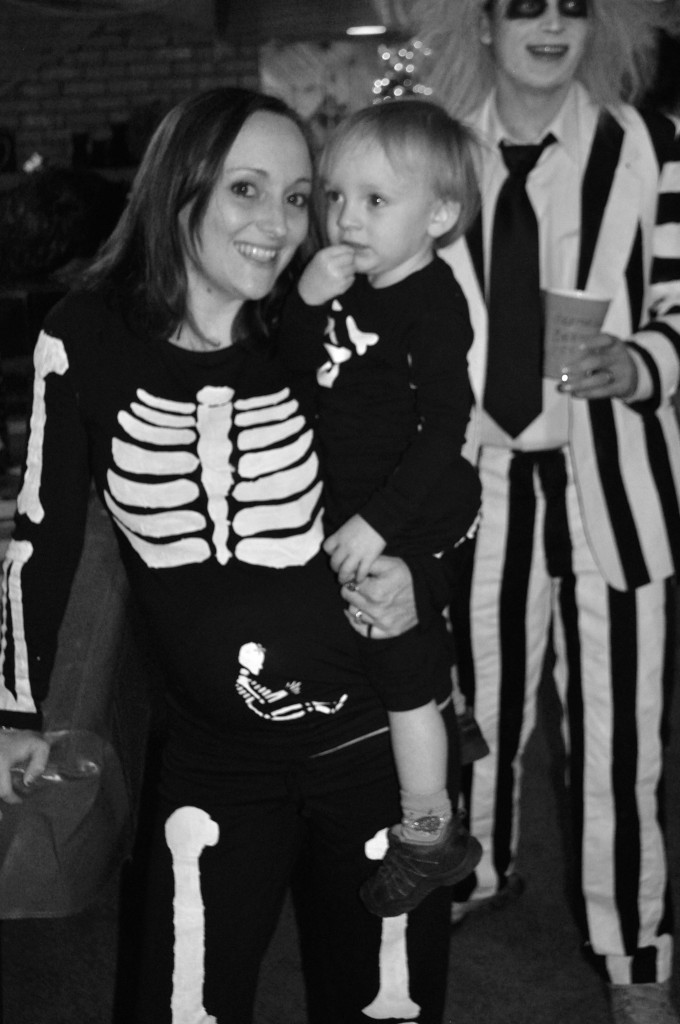
Okayyyy, I guess I got lazy with poor Ryan because I didn’t make his costume. It’s a set of the Carter’s brand skeleton pajamas. But I love our family of skeletons!!! So fun and cute! We got a lot of great feedback and “what? you MADE that?!” at the parties we went to 🙂
It could be really fun to use glow-in-the-dark paint, too! What details would add on your pregnant skeleton costume?
WHAT YOU NEED for your pregnant skeleton costume:
~set of black pants and shirt
~roll of freezer paper from your grocery store
~pen/pencil to draw skeleton
~X-ACTO knife or razor blade (& scissors, if preferred)
~iron
~white fabric paint
~paint brush
~cardboard/magazines/etc to put between layers of clothes
~pink ribbon or paint for baby girl (hair bow), blue paint or fabric for baby boy (sunglasses or tie or ?)
STEPS:
1. Try on your clothes to mark where your joints are so you can draw the skeleton accordingly
2. Draw your bones on freezer paper
3. Cut bones out of freezer paper
4. Iron freezer paper on to clothes, smooth/shiny side down
5. Paint the skeleton! I did 3-4 coats.
6. Remove freezer paper and add any final touches (like hair bow, tie, etc.)
7. Let dry for a few hours. Safe to wash inside after ~72 hours (although I washed after ~24 and they were fine)




omg this is AWESOME!!! Love it Emily!
[Reply]
babydickey Reply:
November 15th, 2011 at 6:30 pm
thank you! 🙂
[Reply]
LOVE it!
[Reply]
These are AWESOME! I totally want to make just the shirt for my pregnant sister, even though it’s not any time close to Halloween. I just love skeletons 🙂
[Reply]
I totally wanted to do this! I wish I had found this in Oct!
[Reply]
Pinning this was a toss up between “makes me laugh” (because it is so cute and clever, not because I’m laughing at your idea) and Halloween. I went with Halloween to be safe.
[Reply]
Looks so cute! Great idea!
[Reply]
That is the best pregnancy Halloween costume ever! Love the ninja baby skeleton 🙂
[Reply]
Greetings! Very useful advice within this article! It is the little
changes which will make the most important
changes. Thanks for sharing!
my website … 公式 靴 大人気
[Reply]
In addition, you should use the decoction as a face wash.
Your face is the first thing someone is presented with upon meeting you,
so your outward appearance and skin condition is undoubtedly and inevitably noticed.
Let’s face it, acne products aren’t cheap and they
aren’t something you use one time either.
[Reply]
[…] Baby Dickey. She shows a slightly different variation of a Pregnant Skeleton Costume from the first one […]
[…] […]
[…] babydickey.com […]
[…] (source) […]